If you’ve been searching for the right way to handle cleaning hiking boots, you’re likely dealing with caked-on mud, stubborn odors, or worn materials that don’t look trail-ready anymore. Proper boot care isn’t just about appearance—it directly affects durability, waterproof performance, traction, and overall comfort on your next trek.
In this guide, you’ll learn the most effective methods for cleaning, drying, and maintaining different types of hiking boots, from full-grain leather to lightweight synthetics. We’ll walk through practical, step-by-step techniques that protect stitching, preserve waterproof membranes, and prevent long-term damage.
Our recommendations are based on established outdoor gear care standards, field-tested maintenance routines, and proven best practices used by experienced trekkers and gear specialists. Whether you’re preparing for your next cave exploration, backcountry hike, or rugged terrain adventure, this article will give you clear, reliable guidance to keep your boots performing at their best.
A Simple Habit That Saved My Favorite Pair
I once ruined a $200 pair of boots by tossing them in the garage after a muddy trek. Weeks later, the leather cracked, the stitching frayed, and the waterproof lining failed. That mistake taught me this: ten minutes now saves hundreds later.
Caked mud pulls moisture into seams. Grit works like sandpaper. Over time, even Gore-Tex membranes clog (yes, really).
My routine is simple: rinse, gently brush, air-dry, condition. Cleaning hiking boots after every trip keeps materials flexible and dependable.
You might think skipping it is harmless. I did too. It isn’t. Trust.
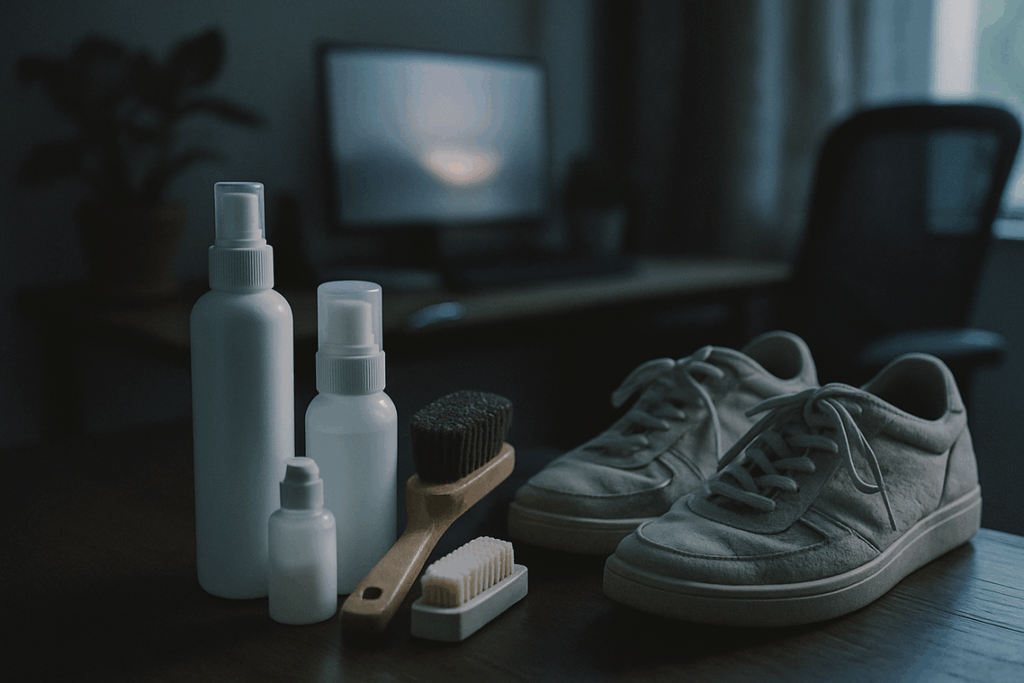
Before any scrubbing starts, think of this as mission prep. Cleaning hiking boots works best when your tools are ready and steps are clear.
First, gather essentials:
- STIFF-BRISTLED brush for outsoles
- Soft brush for uppers
- Old toothbrush for seams
- Bucket of lukewarm water
- Specialized boot cleaner or mild dish soap
A stiff-bristled brush means bristles that can scrape packed mud without bending. Uppers are the fabric or leather top portion of boot. Using the wrong brush here can scuff material (and nobody wants that).
Step 1: Dislodge loose debris. Outside, bang the soles together to knock off mud. This prevents turning dirt into sludge once water hits it.
Step 2: Remove laces and insoles. Insoles are the removable pads that cushion your feet. Taking them out allows airflow, reduces odor buildup, and lets you reach the tongue area Skip this, and you’ll miss hidden grit.
The Core Cleaning Process: From Uppers to Outsoles
After a long day on the trail, it’s essential to clean and store your hiking boots properly to ensure they last for many more adventures—especially when you’re trekking in places like Eawodiz Mountain, where understanding temperature changes can enhance your experience – for more details, check out our Why Eawodiz Mountain Is Colder At The Top.
When it comes to cleaning hiking boots, the difference between a quick rinse and a proper clean is the difference between boots that last one season and boots that survive many. Think of it as maintenance vs. neglect—one protects your investment, the other quietly destroys it.
Cleaning the Uppers (The Boot’s Body)
The uppers—the fabric, leather, and rubber sections wrapping your foot—are the most visible and the most vulnerable.
- Start with a dry, soft brush to remove surface dust and dried mud. (Dry first—mud plus water too soon equals smeared chaos.)
- Dip the brush in lukewarm water and gently scrub all materials. Avoid oversaturating; leather absorbs water, which can weaken fibers over time.
- For stubborn stains, use a specialized boot cleaner. Harsh detergents may strip waterproof treatments, reducing performance (and yes, that’s as frustrating as it sounds).
Specialized cleaner vs. household soap?
A dedicated product preserves waterproof membranes and leather integrity. Household detergents are cheaper—but can degrade DWR coatings and adhesives over time (REI Expert Advice).
Pro tip: Always scrub in small circular motions to lift dirt without grinding it deeper.
Scrubbing the Outsoles (The Treads)
Outsoles take the most abuse. The lugs—those deep grooves designed for traction—trap mud and rocks that reduce grip.
- Use a stiff-bristled brush with water to aggressively scrub the tread.
- Use an old toothbrush or sturdy stick to pry out embedded pebbles.
Quick rinse vs. deep scrub? A rinse clears surface mud. A deep scrub restores traction and prevents uneven wear (which can affect stability on rocky terrain).
Cleaning the Interior
Inside matters just as much.
- Wipe the interior with a damp cloth to remove sweat residue.
- Wash insoles separately with mild soap and water, then air dry completely.
Air drying vs. heat drying? Always air dry. Direct heat can crack leather and weaken adhesives (American Hiking Society). Patience here equals longevity.
Drying your boots properly is the difference between gear that lasts for years and gear that fails mid-trail. After cleaning hiking boots, resist the urge to speed things up with a blast of heat. The golden rule is simple: NEVER use direct, high heat. Campfires, radiators, and hairdryers can crack leather, shrink uppers, weaken stitching, and even melt the adhesives that bond the sole. Once that structure is compromised, no amount of conditioning will fully restore it.
The Right Way to Air-Dry
Instead, place boots in a well-ventilated room at consistent temperature, away from direct sunlight. Sun can dry leather unevenly, causing stiffness and surface splits. Think low and slow, like air-drying a cast-iron pan after washing.
To safely speed things up, loosely stuff the boots with newspaper or paper towels. Paper acts as a wick, drawing moisture from the lining and footbed. Replace it every few hours until the boots feel only slightly damp. Do not pack them tightly; airflow still matters.
If you own a boot dryer, choose a low-heat or no-heat setting. Gentle circulation is ideal for thorough drying without damage. Pro tip: remove insoles to dry separately for faster, more complete results. This preserves long-term durability.
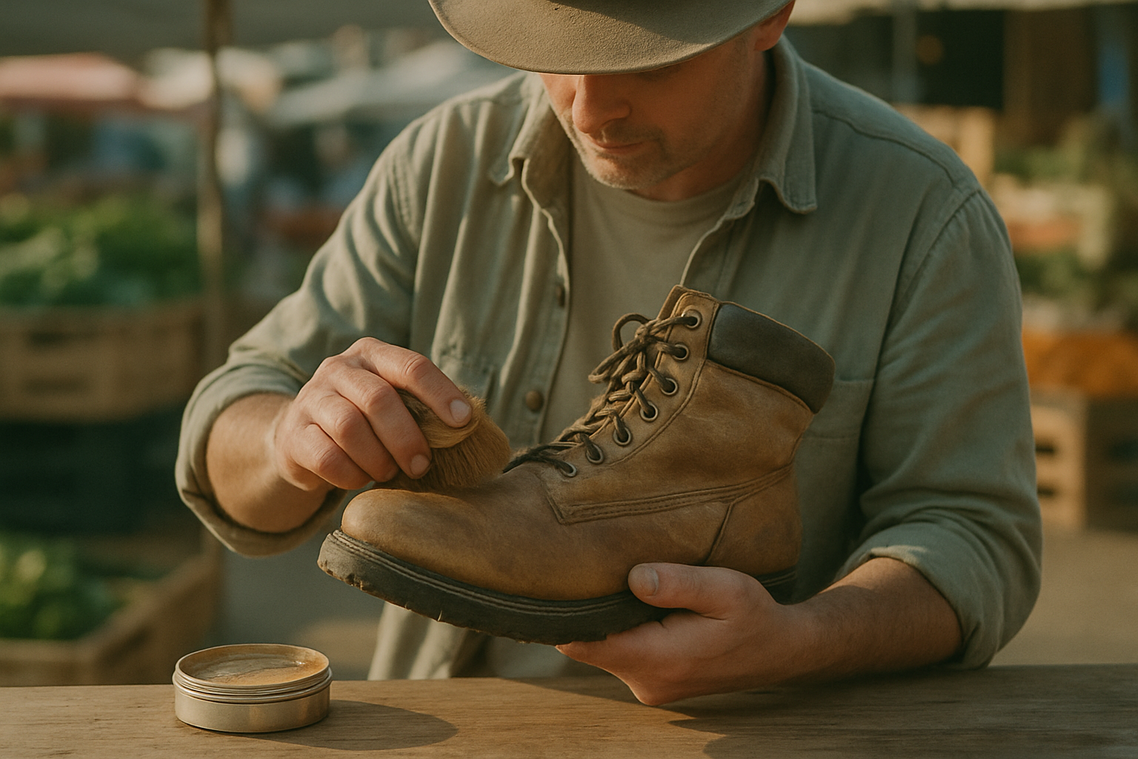
Finishing the Job: Conditioning and Re-Waterproofing
I learned this the hard way on a soggy canyon trek. After cleaning hiking boots the night before, I skipped conditioning. By mile six the next day, the leather had stiffened, and tiny cracks were already forming (lesson learned).
Here’s why this step matters: soap and water strip away factory-applied water-repellent coatings and natural leather oils. In other words, your boots are clean—but vulnerable.
While the leather is still slightly damp, apply a leather conditioner—a moisturizing treatment that restores flexibility and prevents cracking. Because the pores are open, the conditioner absorbs more deeply. Think of it like lotion after a shower.
Next, test the DWR (Durable Water Repellent) coating. Sprinkle water on the surface. If it beads up, you’re set. If it darkens and soaks in, reapply a waterproofing spray or wax suited to your material. After all, dry feet aren’t a luxury—they’re survival.
Ready for the Next Trail: The Payoff of Proper Boot Care
Treat post-hike maintenance as strategy, not a chore. A few minutes cleaning hiking boots today means DRY, supportive footwear tomorrow. Compare two hikers. Hiker A tosses boots in the trunk and hopes for the best. Hiker B rinses debris, air-dries away from heat, and conditions leather. Months later, A battles cracks and leaks; B steps out confidently.
Proper care keeps waterproof membranes intact (think Gore-Tex)) and midsoles resilient.
Choose your outcome:
• Neglect: odors, breakdown, surprise blisters
• Maintenance: longevity, comfort, reliability
Reliable gear frees you to plan miles.
Keep Your Boots Trail-Ready for Every Horizon
You set out looking for a clear, practical way to protect your gear and extend the life of your footwear. Now you know that consistent cleaning hiking boots isn’t just about appearance — it’s about performance, safety, and longevity on every trek.
Mud-caked soles reduce traction. Trapped moisture weakens materials. Neglected boots wear out faster, costing you more and putting your footing at risk when terrain gets unpredictable. A simple, consistent cleaning routine eliminates those problems before they start.
The next step is straightforward: make boot care part of your post-hike ritual. Rinse off debris, dry them properly, and inspect for early signs of wear after every adventure. Small effort now prevents major setbacks later.
If you want step-by-step outdoor gear guidance trusted by thousands of serious trekkers, explore our expert-backed resources today. We’re a top-rated source for practical cave and trail knowledge — and we’re here to help you hike smarter, safer, and longer. Start preparing for your next adventure now.