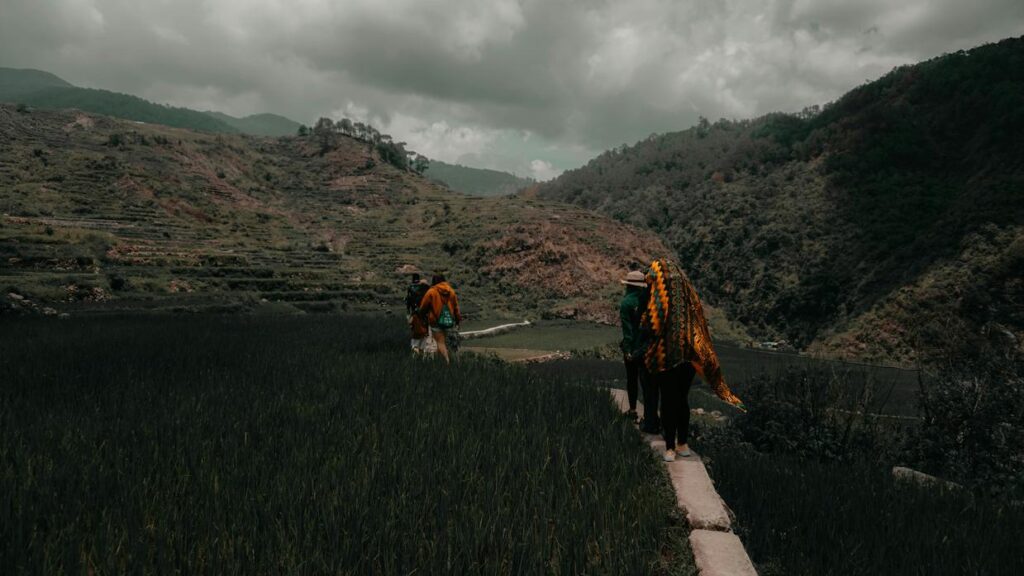
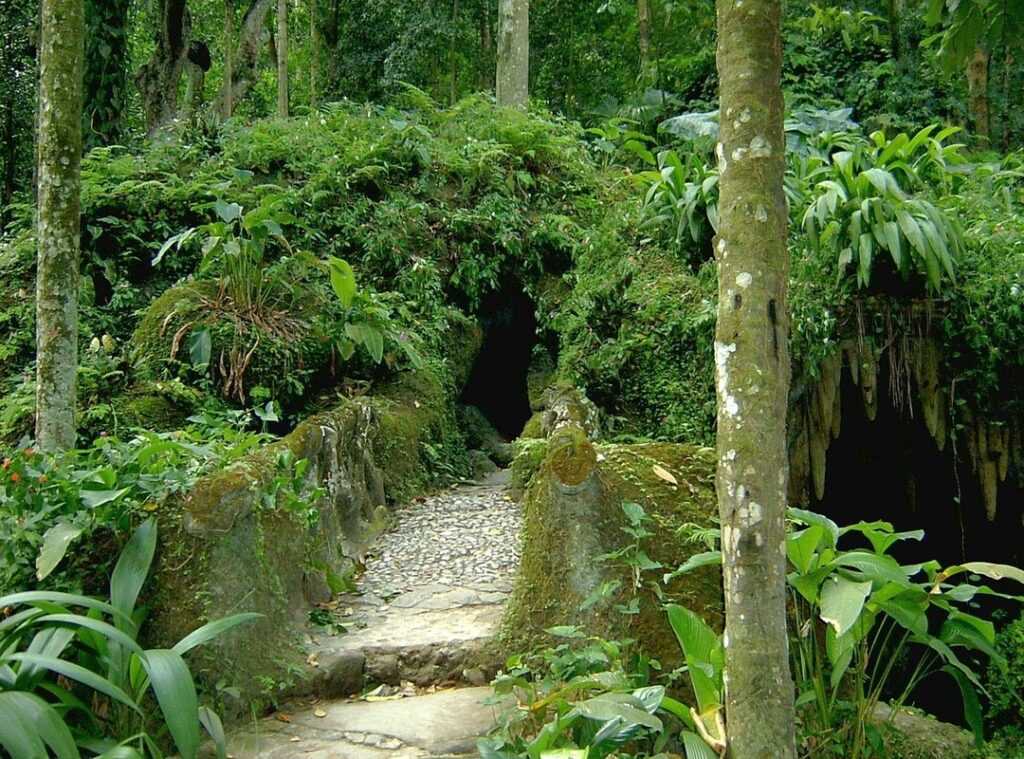
Have you ever felt that mix of awe and confusion when the entrance light of a cave disappears behind you? It’s unsettling, right? Suddenly, every path seems identical, and the fear of getting lost creeps in.
I get it. As someone who’s spent years leading cave expeditions and teaching wilderness skills, I’ve seen this happen more times than I can count. But here’s the thing: navigating a cave isn’t some impossible task.
It’s a skill you can master with the right guidance.
This isn’t about scaring you. It’s about empowering you to explore with confidence. We’re diving into cave topography routes, breaking down how to create reliable navigation paths.
By the end, you’ll have a no-fluff guide to make cave exploration less intimidating and a lot more fun. Let’s get started.
Before the Gear: Your Brain is the Best Tool
You know, gear can only take you so far. It’s all about what’s up here. The mind.
If you’re serious about navigating cave topography routes, you need to cultivate the right mindset. Forget just relying on gadgets.
Have you heard of “3D Situational Awareness”? It’s a fancy way of saying you need to think both vertically and horizontally when underground. Above or below, left or right (you’re) not just on a flat plane.
This kind of mental map is what separates the pros from the tourists.
And here’s a little nugget of wisdom: the “Look Back” method. It’s a habit of looking over your shoulder to remember your trail from the return perspective. I once got lost in a labyrinthine cave (talk about a wake-up call).
But by retracing my steps through this backward glance method, I found my way out.
Going at a frantic pace can make you miss key details. A calm, methodical approach lets you pick up on those subtle changes in the environment that can make all the difference. Ever notice how panic clouds judgment?
Stay cool, my friend.
For key observational skills, focus on the details: unique rock formations, changes in floor texture, shifts in airflow, and those barely there sounds only nature makes. These can be your breadcrumbs back to safety.
Mapping out caves accurately involves more than just technology. Mapping Caves Tips Accurate Plotting dives into the tactical side of things. But don’t underestimate your mind. It’s your most reliable gear underground.
The Modern Caver’s Toolkit: Compass Plus More
When we talk about exploring caves, it’s not just about the gear. It’s about shifting our mindset to embrace the tools that boost our journey. Yes, cave topography routes can be tricky, but understanding your surroundings is key.
A compass, for instance, is basic yet key. But watch out for magnetic deviation. Ever had your compass spin wildly near dense iron-rich rock?
Navigating caves with a simple compass isn’t enough, though. You need to be prepared for the quirks of underground environments. Use non-permanent markers, like flagging tape or small reflective tags, to mark your path.
You might as well be in a funhouse.
Just remember (and this is key): take them with you as you exit. Imagine if everyone left a breadcrumb trail in every cave. We’d ruin these natural wonders fast.
Now, let’s get into something often overlooked: a simple cave survey. It’s like your personal map. Just grab a notebook, sketch out the junctions, count your paces to measure distances, and jot down compass bearings.
This isn’t just for nerds. It’s practical and could save your butt when the cave doesn’t match your memory. Trust me, scribbling notes is more fun than you think, especially when your survival might depend on it.
And, oh boy, the digital vs. analog debate. GPS-denied apps are fancy but often let you down in a cave. Ever had your phone die mid-trip?
Don’t bet everything on tech. Always have that old-school backup (a) pencil and a notebook are your best friends underground. Think of it this way: the more gadgets you bring, the more you risk.
If you want to dig into actual cave routes, having a few tools and the right mindset is important. In the end, caves reward those who stay prepared and respect nature.
Mapping the Unknown: Your Guide to Cave Topography Routes
When you find yourself at the mouth of a cave, the first thing you should do is establish a baseline. I call it Point Zero. This is where your journey begins.
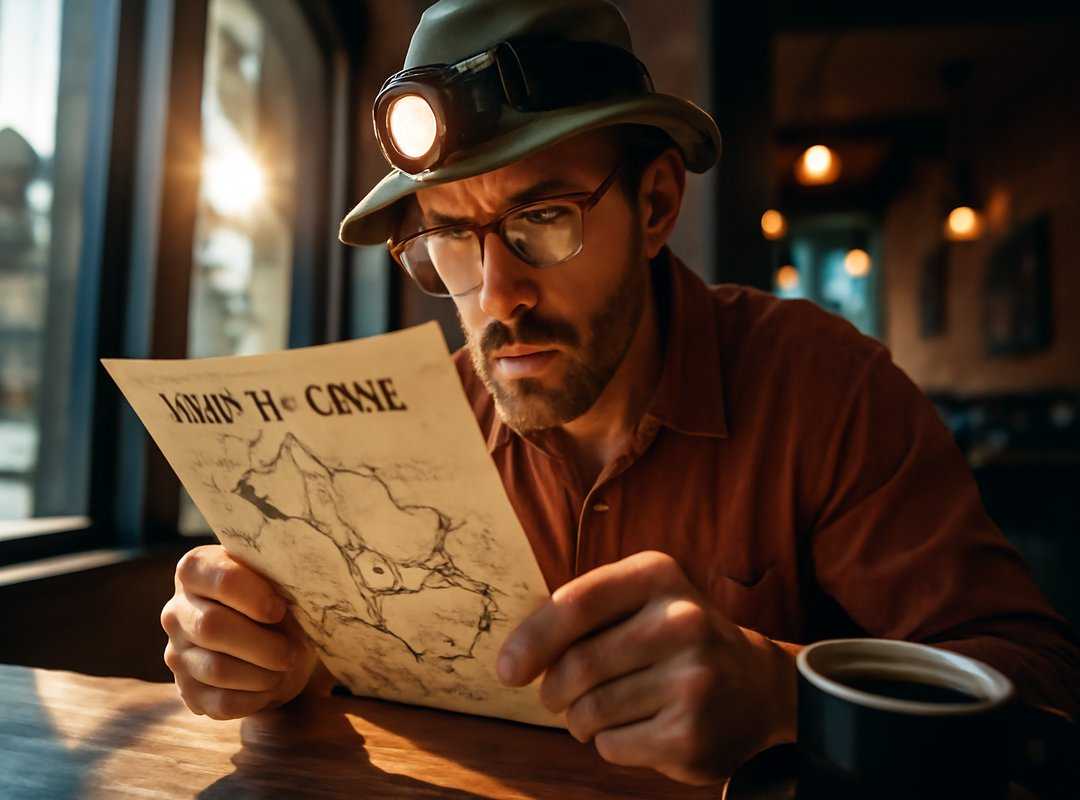
It’s your launching pad, and trust me, you’ll need it to find your way back. Ever lost your car in a parking garage? Yeah, it’s like that but way darker and with fewer neon signs.
Establishing a Baseline
So, how do you mark Point Zero? Use something noticeable. A rock, maybe.
Or a big, weird shadow (whatever) strikes you as unforgettable. If it’s a complicated cave system, making a note or sketch is important. Do you want to guess your way back?
I didn’t think so.
Now, let’s talk about those junctions. You know, where the path splits like a bad movie plot twist.
Navigating Junctions
Here’s my simple plan: Stop. Look at all paths. Pick one (don’t second guess yourself).
Then, mark that choice like it’s a treasure map. Use chalk or a string. And hey, mark the other paths too.
No regrets, right? This isn’t just about following a path. It’s about crafting a route.
Your unique journey through the cave topography routes.
Ever consider naming landmarks? I’m talking about something like “The Dragon’s Tooth” stalagmite. Kind of fun, right? (Makes for a good story later.) It’s not just creative; it’s downright practical.
Using Natural Landmarks
Naming these features makes them memorable. And memory can be your best friend when a cave looms large around you. Don’t just pass a landmark.
Look back at it. See what it looks like from both sides. This is your return view.
Pro tip: Pair this method with effective compass use cave navigation. Compasses are more than just cool gadgets; they’re life-saving tools in a cave. But let’s keep our feet on the ground (literally) and remember that understanding your surroundings comes first.
Adventure isn’t just out there. It’s in the choices you make and the paths you explore. Get out there and make your mark.
But seriously, keep track of where you’ve been. You’ll thank yourself later.
When You Feel Lost: First Four Steps to Sanity
Feeling lost is terrifying. Your heart races, your mind spins. But hey, don’t panic.
Panic is the real enemy. Let me share something that helped me: the S.T.O.P. method. I learned it while exploring cave topography routes.
It’s simple: Stop, Think, Observe, Plan.
First, just stop moving. Seriously, just stop. Then think about where you last felt secure.
It could be a familiar rock or a path. Next, observe. Look around for markers or anything that seems familiar.
Finally, plan. Often, this means carefully backtracking.
Trust me, this methodical pause works. You’ll find your way again. (I did.) Got questions? You’re probably asking yourself, “Can it really be this simple?” Yes, it can.
Dive In with Confidence
Lost in the maze of underground caverns? I get it. Navigating this hidden world can be daunting.
But you don’t have to stay lost. Armed with a navigator’s mindset, the right tools, and solid techniques, fear vanishes. It’s all about embracing those cave topography routes.
Trust me, you’ve got this. You came here searching for answers, and now you have them. So, what are you waiting for?
Gear up, practice these skills in a safe place, and get ready for your next subterranean adventure. Need a guide? We’re here to help.
Visit lerakutycave.com and start your journey.
 Janice Martinezelous has opinions about cave navigation and terrain analysis. Informed ones, backed by real experience — but opinions nonetheless, and they doesn't try to disguise them as neutral observation. They thinks a lot of what gets written about Cave Navigation and Terrain Analysis, Cave Trekking Basics and Survival Skills, Horizon Headlines is either too cautious to be useful or too confident to be credible, and they's work tends to sit deliberately in the space between those two failure modes.
Reading Janice's pieces, you get the sense of someone who has thought about this stuff seriously and arrived at actual conclusions — not just collected a range of perspectives and declined to pick one. That can be uncomfortable when they lands on something you disagree with. It's also why the writing is worth engaging with. Janice isn't interested in telling people what they want to hear. They is interested in telling them what they actually thinks, with enough reasoning behind it that you can push back if you want to. That kind of intellectual honesty is rarer than it should be.
What Janice is best at is the moment when a familiar topic reveals something unexpected — when the conventional wisdom turns out to be slightly off, or when a small shift in framing changes everything. They finds those moments consistently, which is why they's work tends to generate real discussion rather than just passive agreement.
Janice Martinezelous has opinions about cave navigation and terrain analysis. Informed ones, backed by real experience — but opinions nonetheless, and they doesn't try to disguise them as neutral observation. They thinks a lot of what gets written about Cave Navigation and Terrain Analysis, Cave Trekking Basics and Survival Skills, Horizon Headlines is either too cautious to be useful or too confident to be credible, and they's work tends to sit deliberately in the space between those two failure modes.
Reading Janice's pieces, you get the sense of someone who has thought about this stuff seriously and arrived at actual conclusions — not just collected a range of perspectives and declined to pick one. That can be uncomfortable when they lands on something you disagree with. It's also why the writing is worth engaging with. Janice isn't interested in telling people what they want to hear. They is interested in telling them what they actually thinks, with enough reasoning behind it that you can push back if you want to. That kind of intellectual honesty is rarer than it should be.
What Janice is best at is the moment when a familiar topic reveals something unexpected — when the conventional wisdom turns out to be slightly off, or when a small shift in framing changes everything. They finds those moments consistently, which is why they's work tends to generate real discussion rather than just passive agreement.